


วิธีการติดตั้ง Symantec Endpoint Protection Leave a comment
วิธีการติดตั้ง Symantec Endpoint Protection
- Download File สำหรับการติดตั้ง
- Install Symantec Endpoint Protection Manager
- Install License
- Install Symantec Endpoint Protection Client to Server or PCs
วิธีการติดตั้ง Symantec Endpoint Protection (Download) ![]()
1. การ Download File สำหรับการติดตั้ง Symantec Endpoint Protection
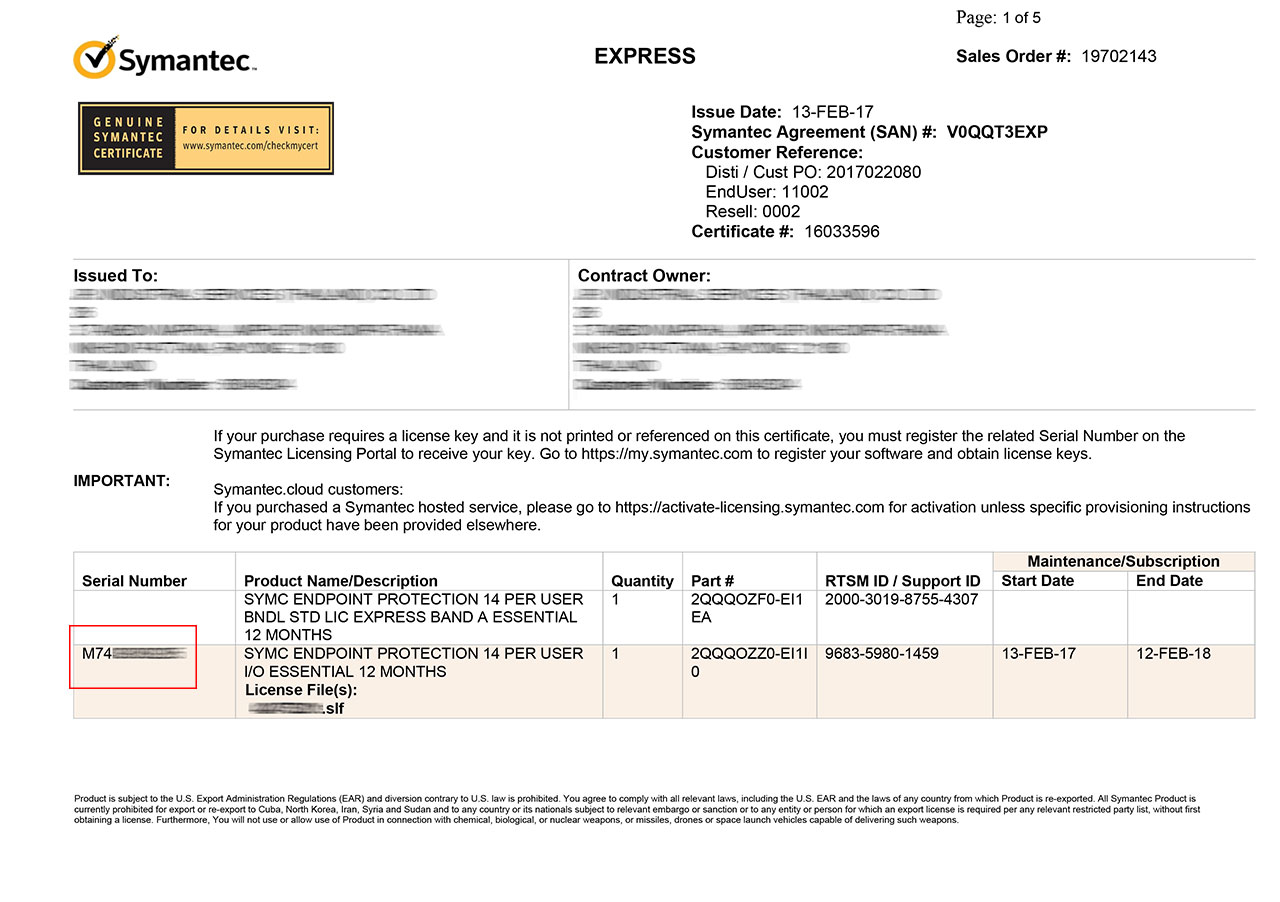 1.1 รายละเอียด License ที่ลูกค้าจะได้รับ ในกรอบสีแดงคือ Serial Number ซึ่งจะขึ้นต้นด้วย M
ขั้นตอนการ Download Software สำหรับติดตั้ง ให้เข้า Web Site https://fileconnect.symantec.com
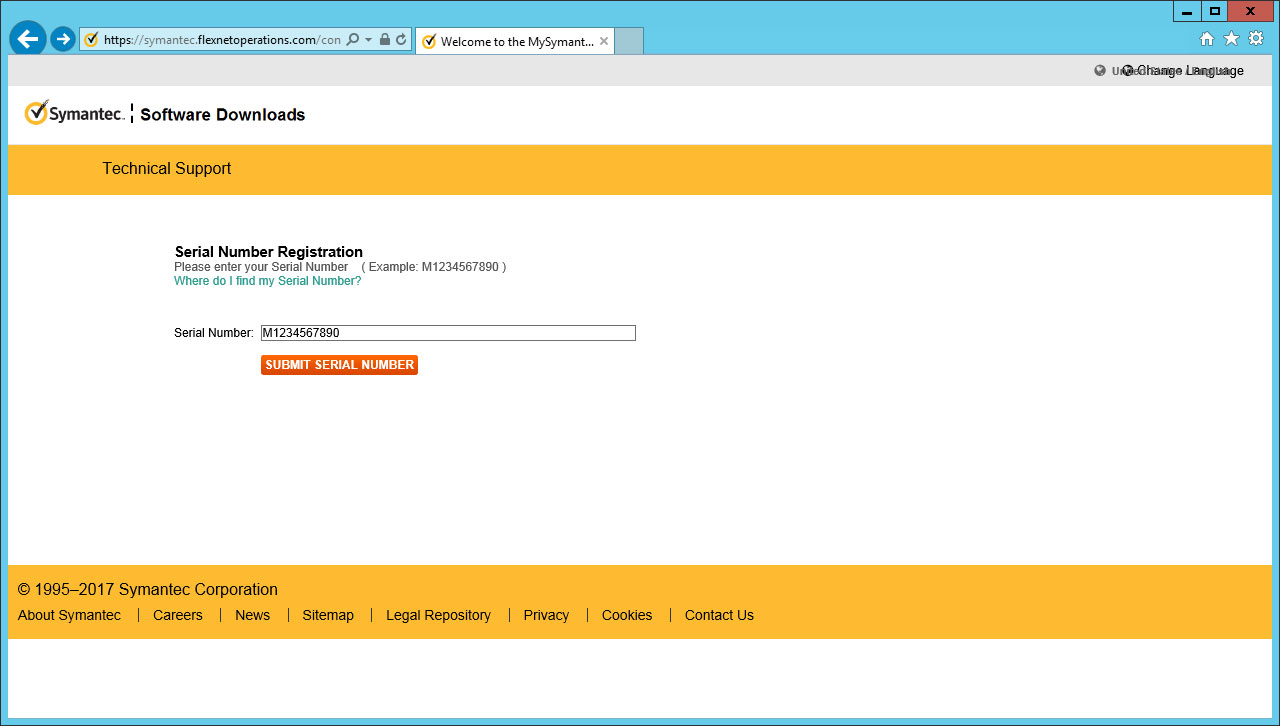
1.2 ใส่ Serial Number ที่ได้รับแล้วเลือก Submit Serial Number
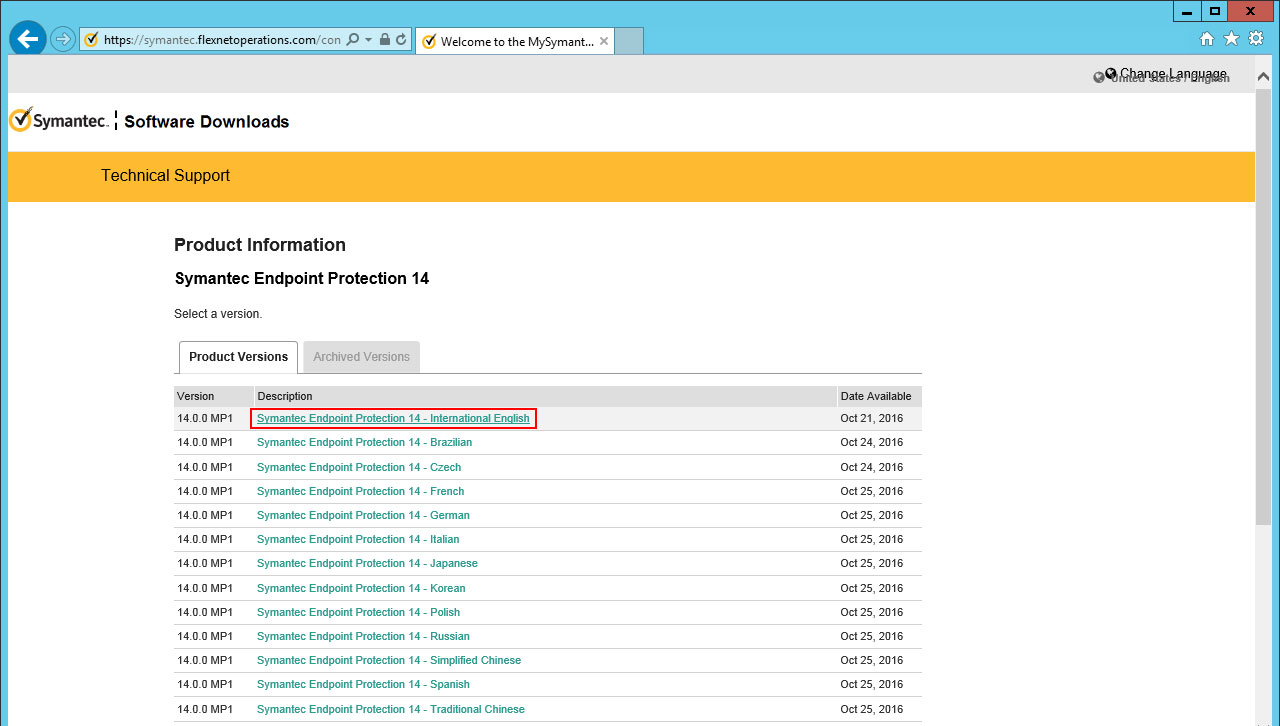 1.3 เลือก Symantec Endpoint Protection 14 – International English
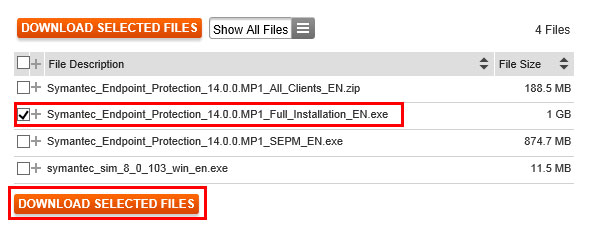
1.4 เลือก Symantec_Endpoint_Protection_14.0.0.MP1_Full_Installation_EN.exe
และเลือก DOWNLOAD SELECTED FILES
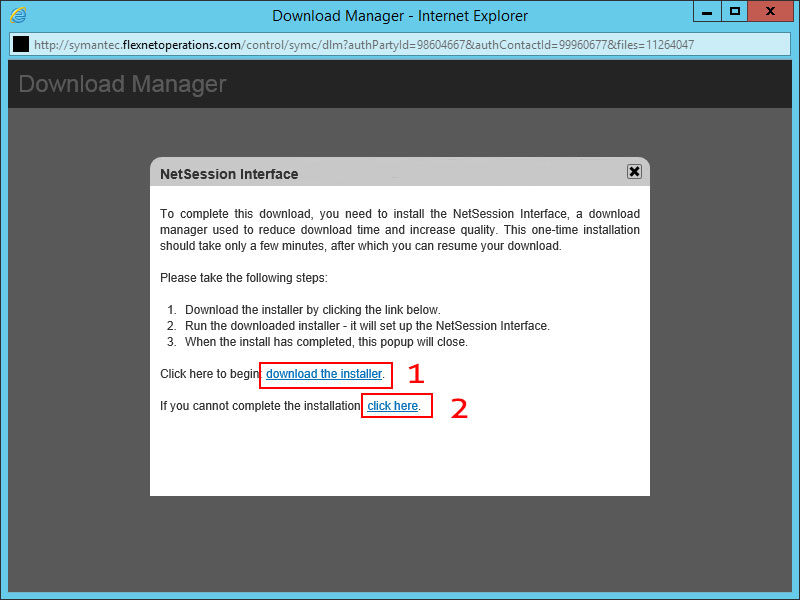 1.5 เลือก 1 เพื่อติดตั้งตัวช่วยในการ Download หรือ เลือก 2 เพื่อ download ตรงจาก Browser
(ในตัวอย่างจะเลือก Option 2)
 1.6 เลือก OK
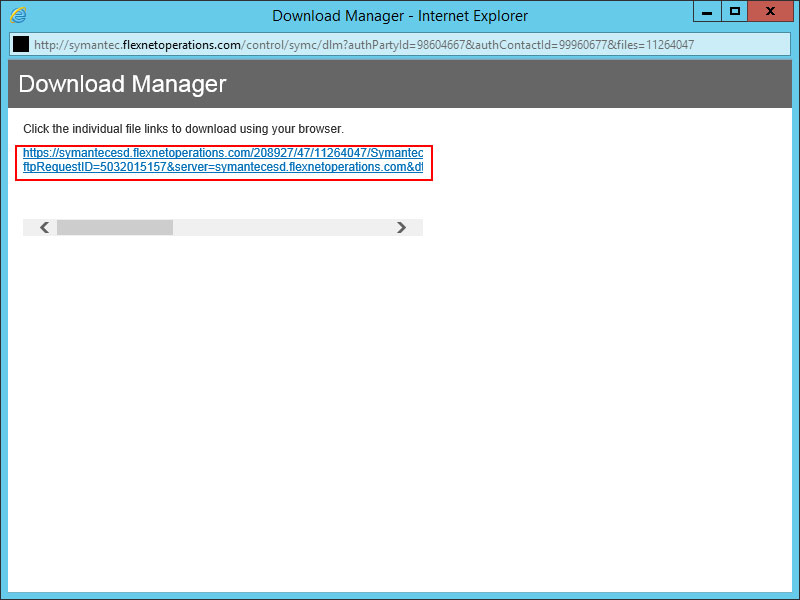 1.7 เลือก Link ในการ Download
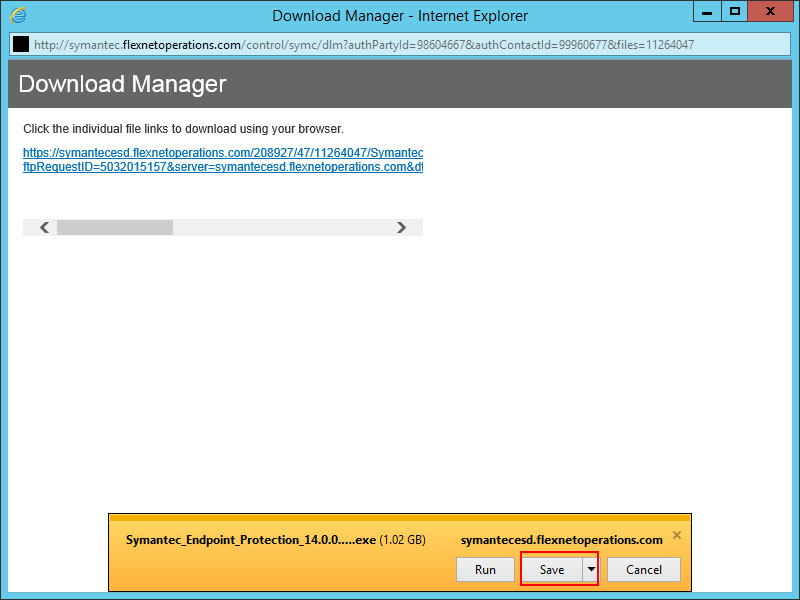 1.8 เลือก Save เพื่อ Download Program สำหรับติดตั้ง (ตัวอย่างใช้ Browser เป็น Internet Explorer)
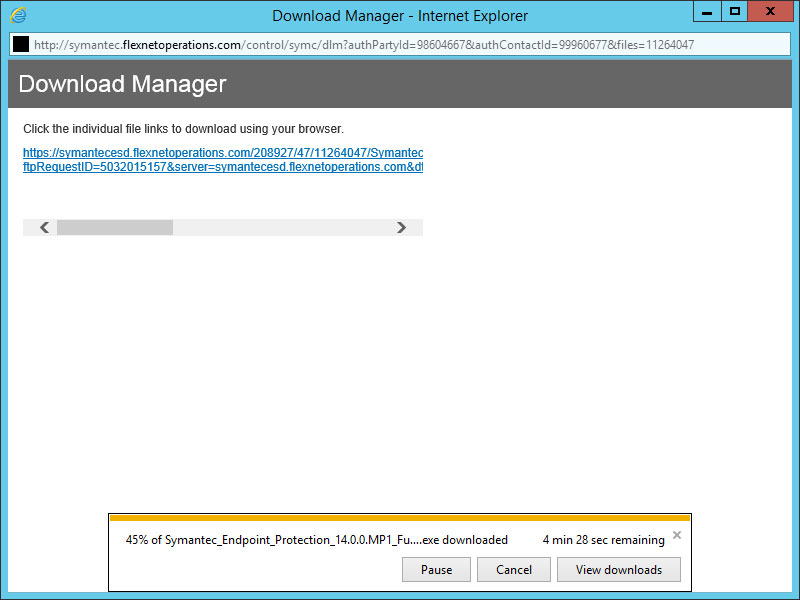 1.9 45% กำลัง Download (ตัวอย่างใช้ Browser เป็น Internet Explorer)
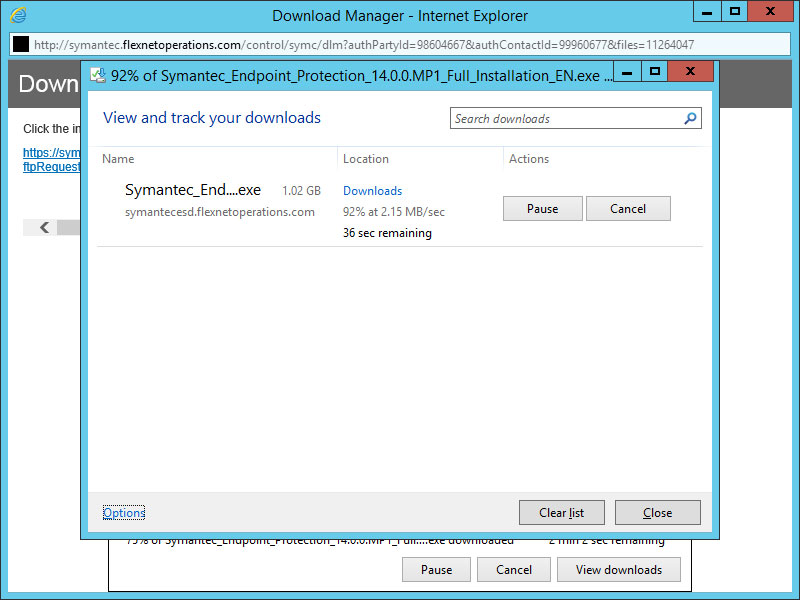
 1.10 75% กำลัง Download (ตัวอย่างใช้ Browser เป็น Internet Explorer)
 1.11 เลือก View Download เพื่อดูรายละเอียดการ Download (ตัวอย่างใช้ Browser เป็น Internet Explorer)
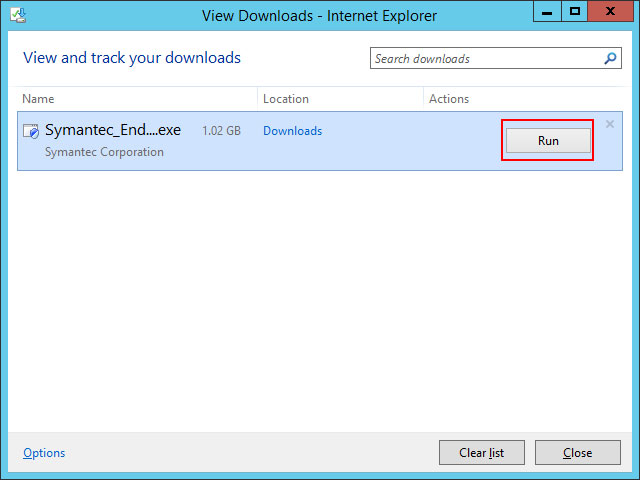 1.12 เลือก Run เพื่อทำการแตก File ติดตั้ง ไปยัง Folder
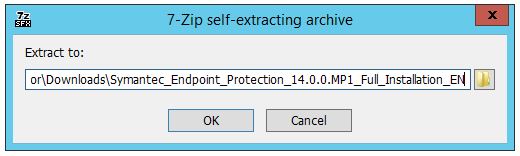 1.13 เลือก Folder ที่ต้องการสำหรับการแตกไฟล์
2. Install Symantec Endpoint Protection Manager
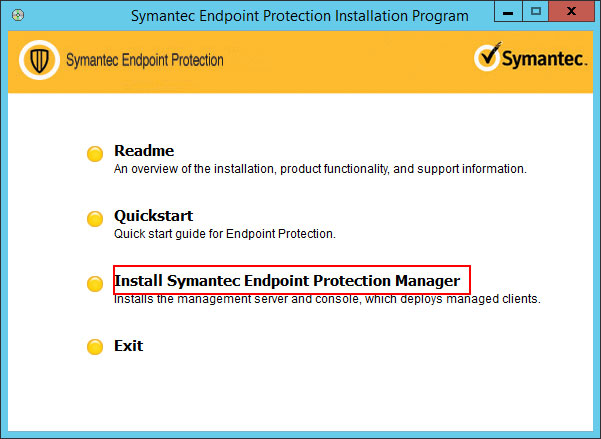 2.1 Program จะทำการ AutoRun ให้เลือก Install Symantec Endpoint Protection Manager
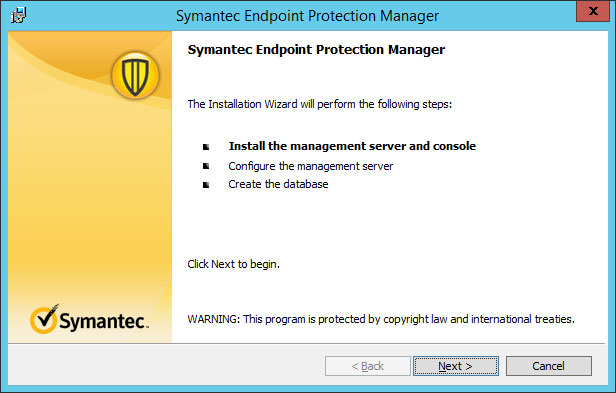
2.2 เลือก Next
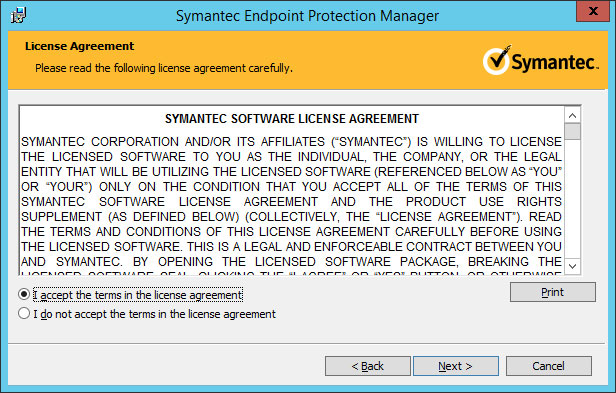
2.3 เลือก Accept License agreement และ เลือก Next
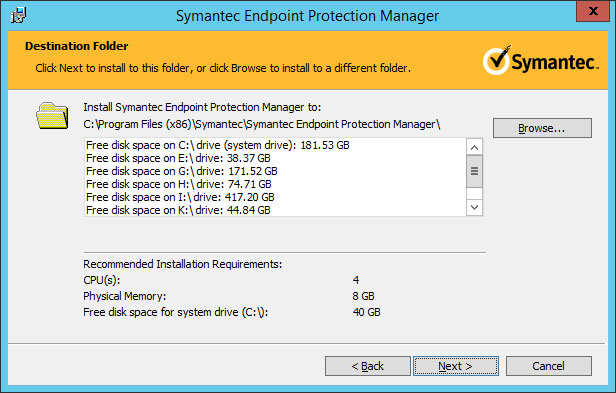
2.4 ระบุปลายทางที่จะให้ Program ติดตั้ง ในที่นี้ใช้ค่าจาก Program เลือก Next
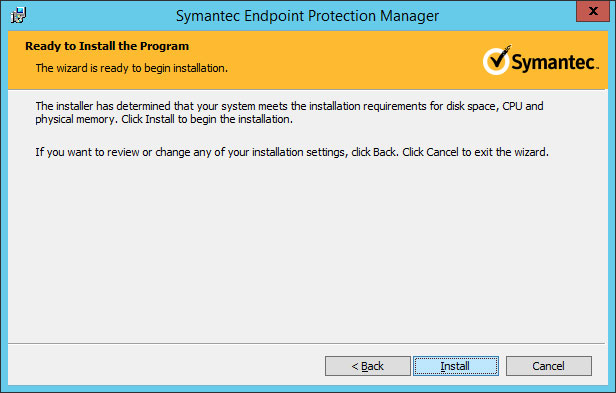
2.5 เลือก Install เพื่อตืดตั้ง Program
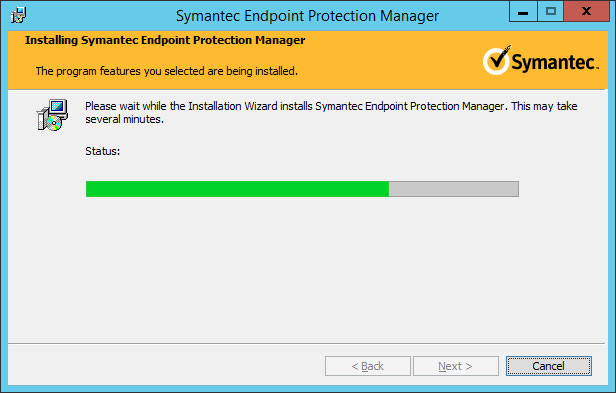
2.6 Program กำลังทำการติดตั้ง
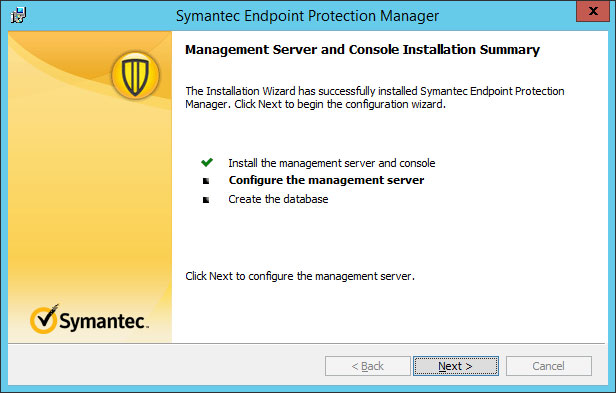
2.7 เลือก Next
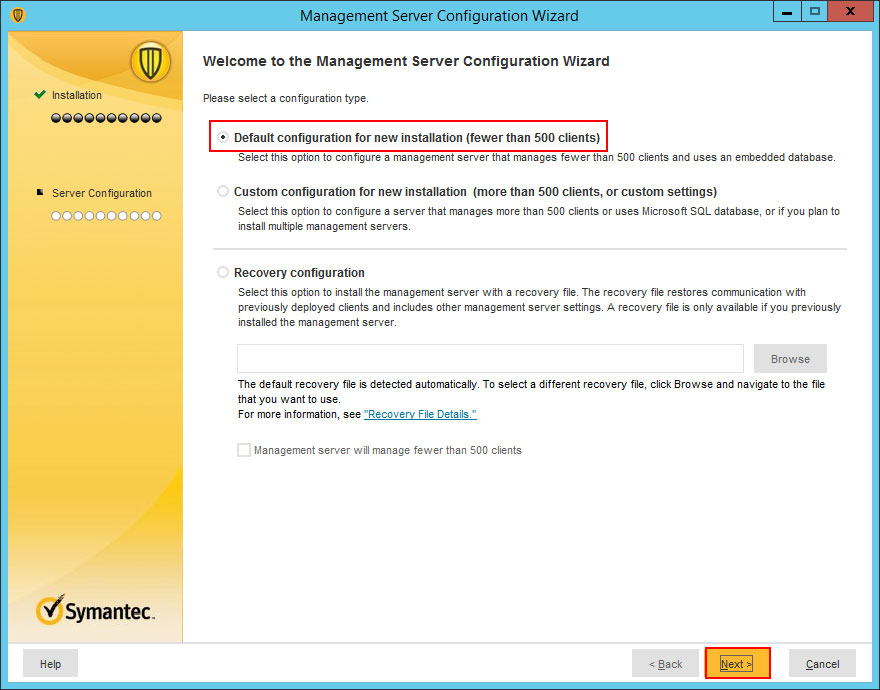 2.8 เลือก Default และเลือก Next
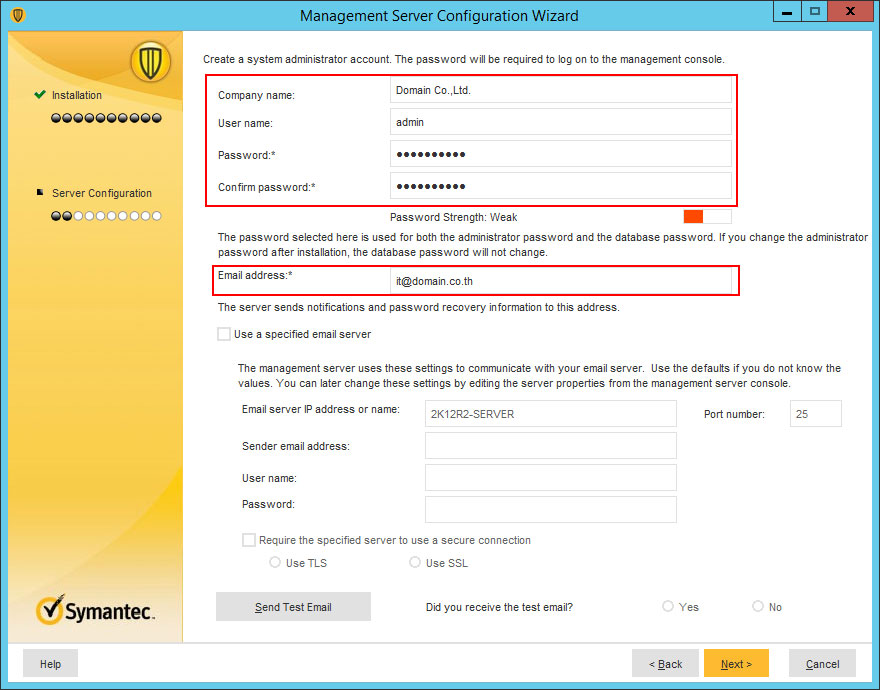 2.9 ใส่ข้อมูลรายละเอียดผู้ใช้ และ Email Address
(User Name และ Password จะเป็นเฉพาะของ Symantec Endpoint เท่านั้น)
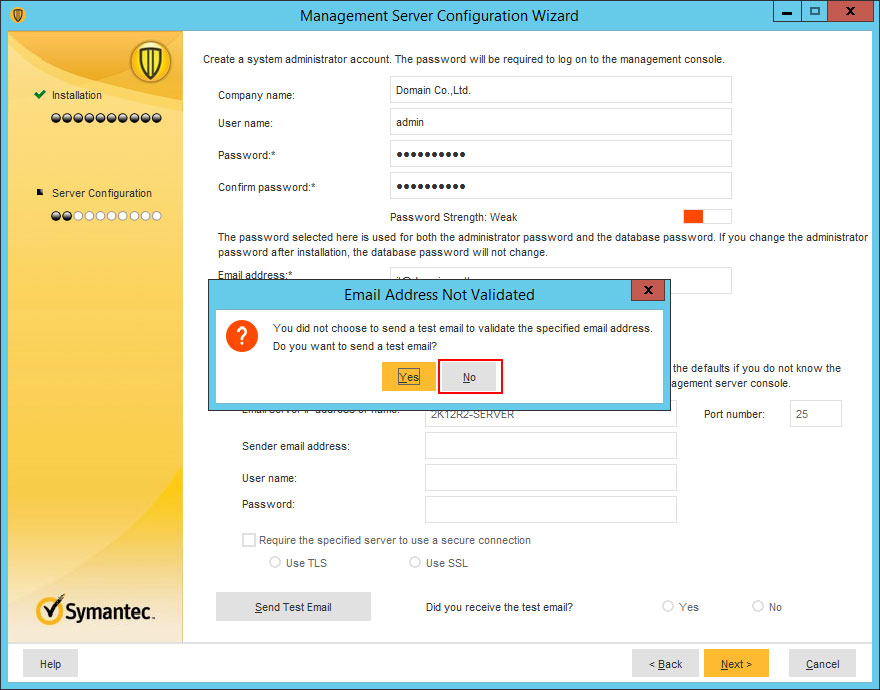 2.10 ในที่นี้ไม่ได้ตั้งค่าการแจ้งเตือน Email เลือก No เพื่อไม่ทดสอบการส่ง Mail
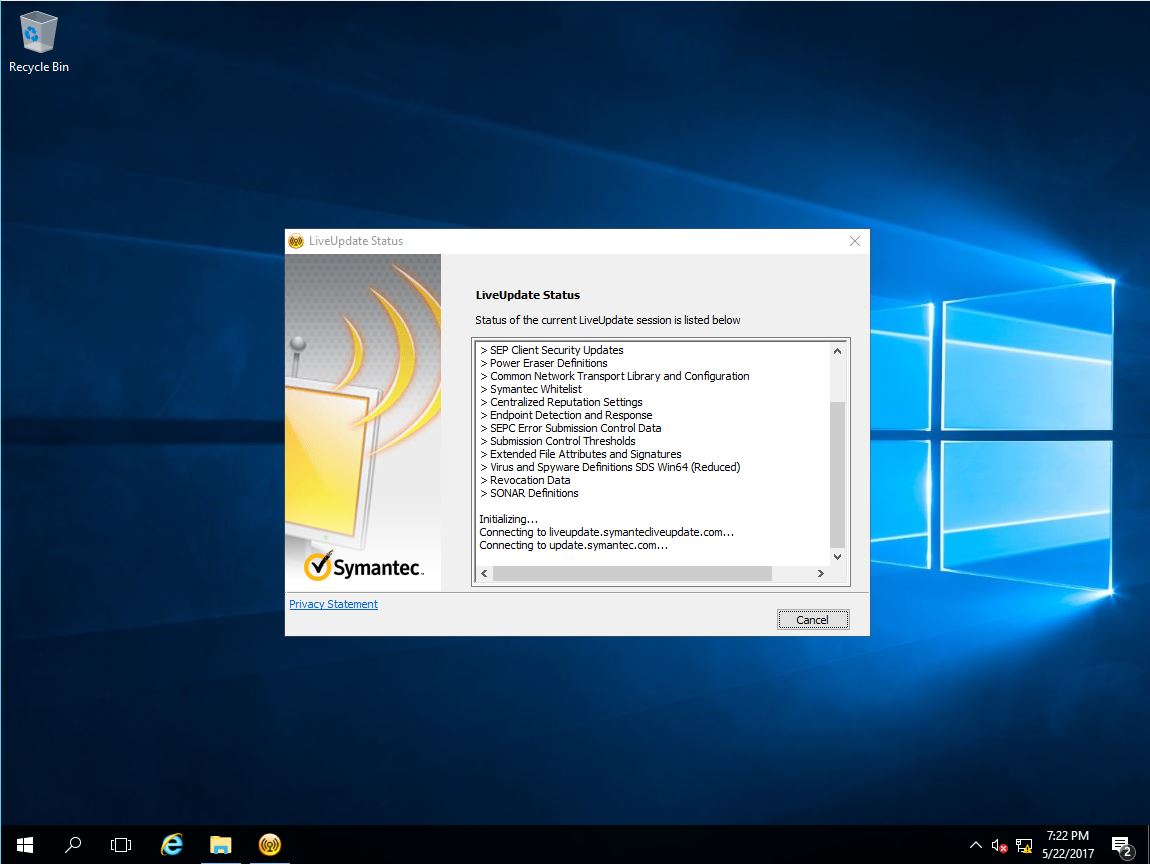
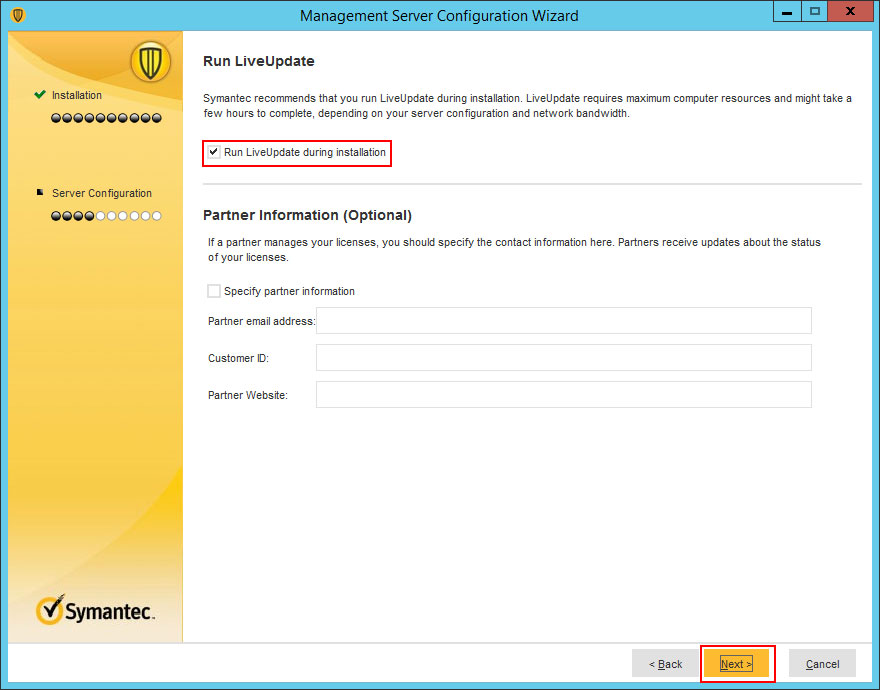 2.11 เลือก Run LiveUpdate ถ้าต้องการ Update โปรแกรมขณะติดตั้ง และกด Next
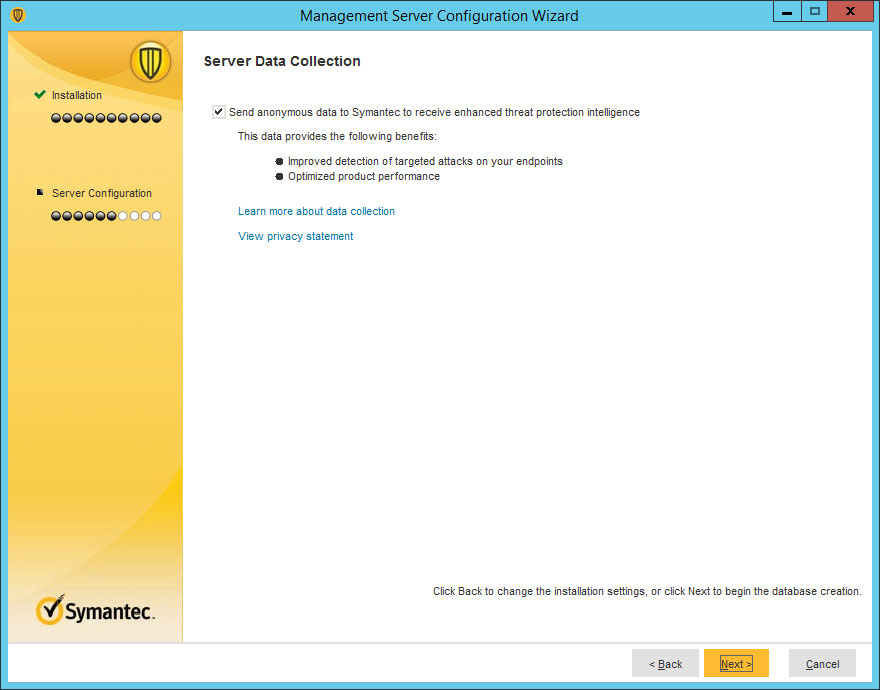 2.12 เลือก Next
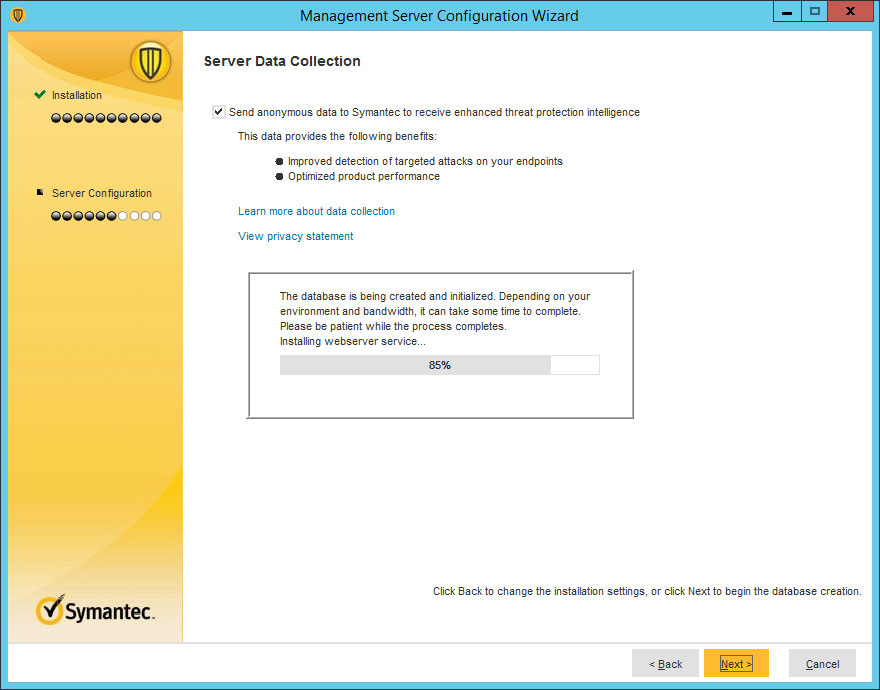 2.13 ความคืบหน้าดำเนินการติดตั้ง
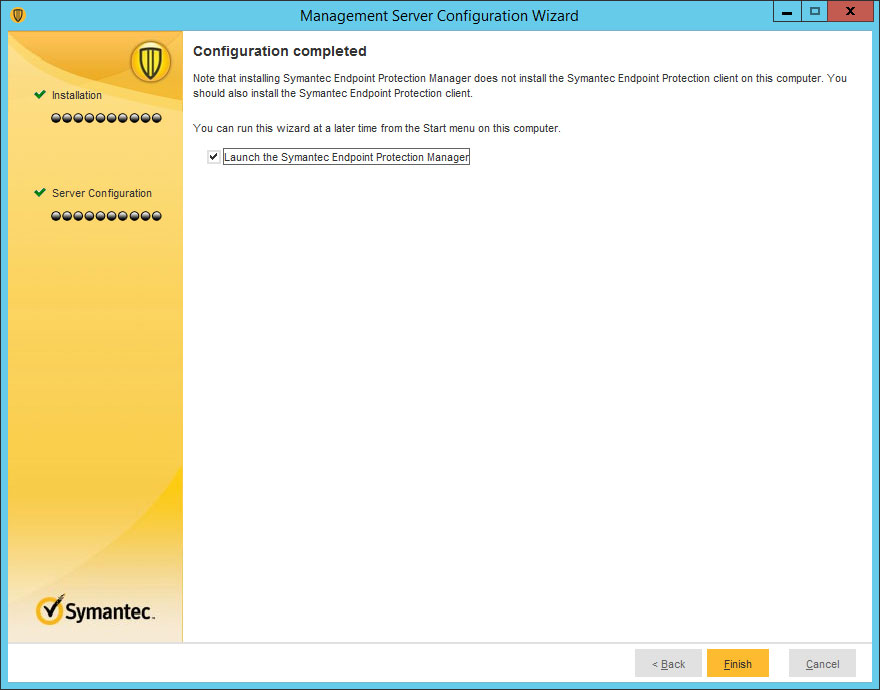 2.14 เลือก Launch the Symantec Endpoint Protection Manager เลือก Finish
3. Install License
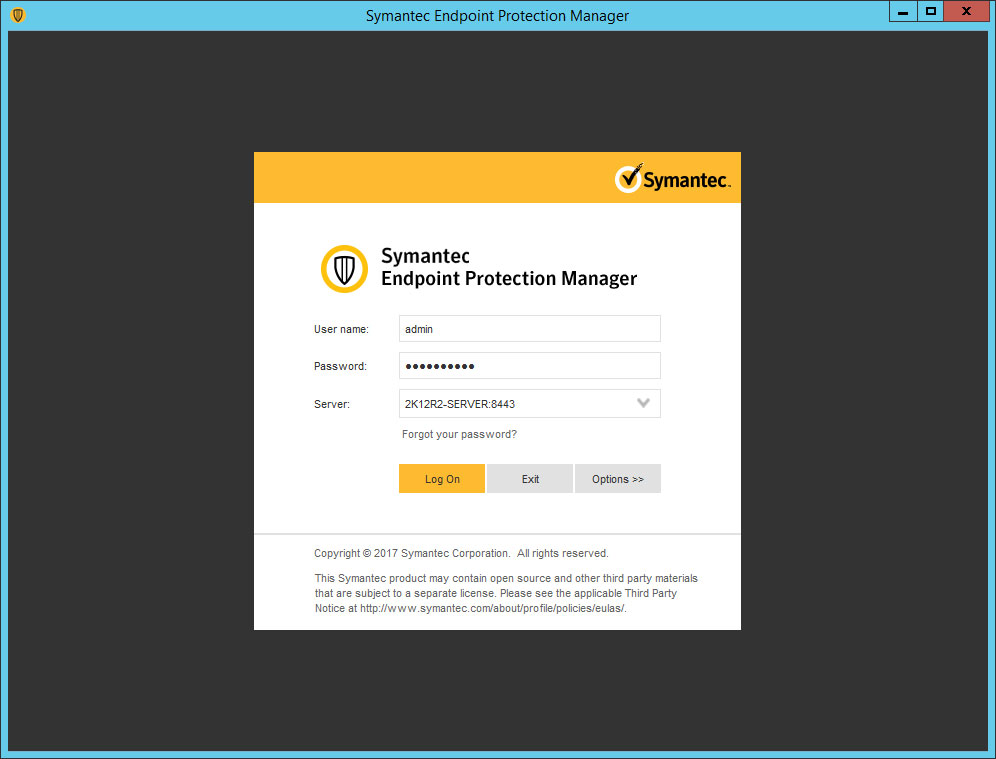
3.1 หน้าต่าง Symantec Endpoint Protection Manager ให้ใส่ User Name และ Password ที่ตั้งไว้ เลือก Logon

3.2 เลือก Activate your product
 3.3 เลือก I have a serial number เลือก Next
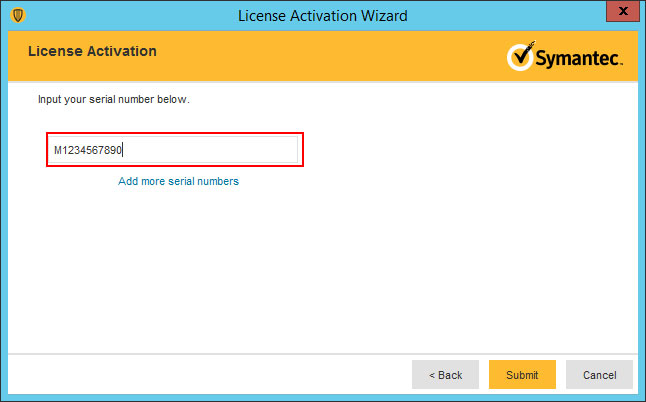 3.4 ใส่ Serial Number ที่ได้รับ เลือก Submit
4.Install Symantec Endpoint Protection to Server or PCs
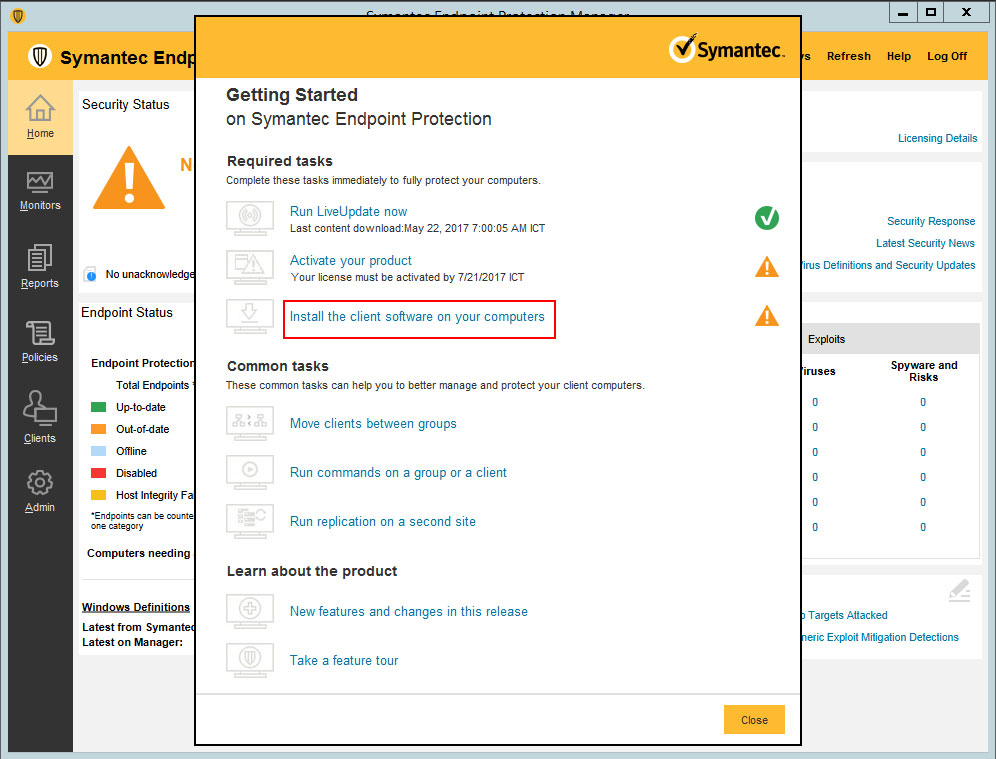 4.1 เลือก Install the client software on your computer
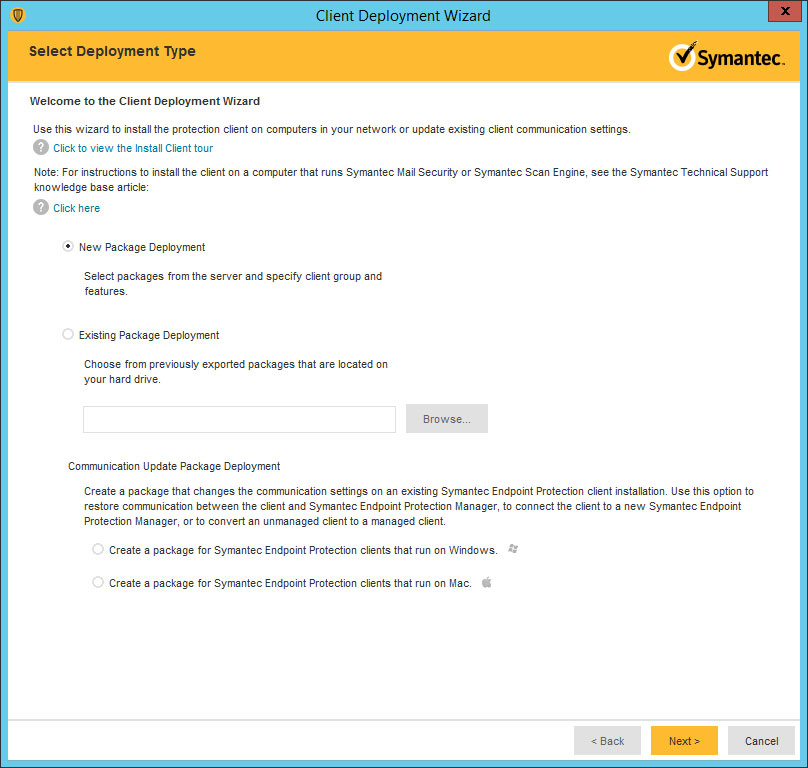 4.2 เลือก New Package Deployment เลือก Next
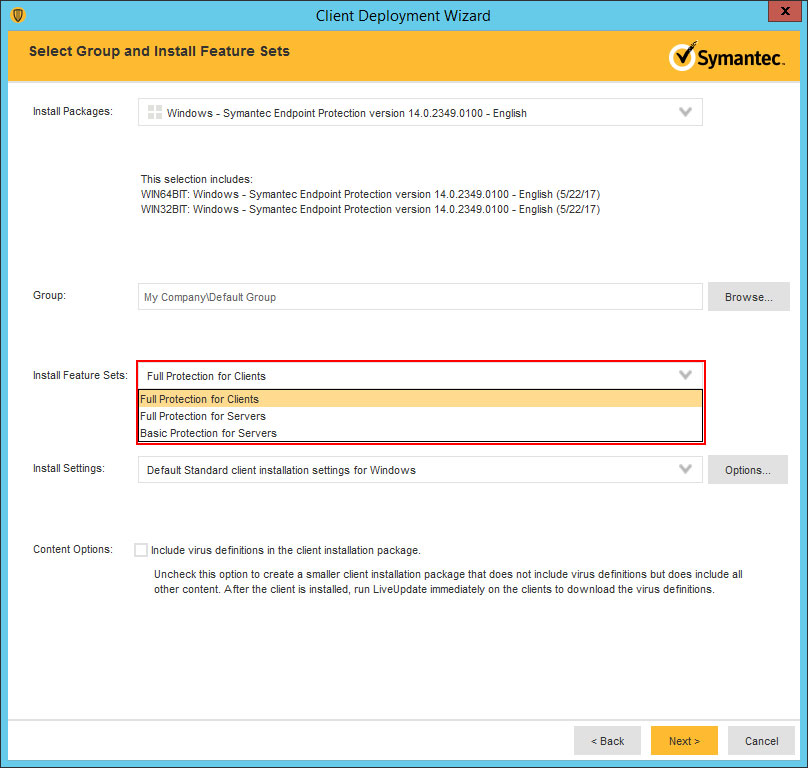 4.3 เลือก Package ที่ต้องการติดตั้ง ตัวอย่างนี้เลือก Full Protection for Servers เลือก Next
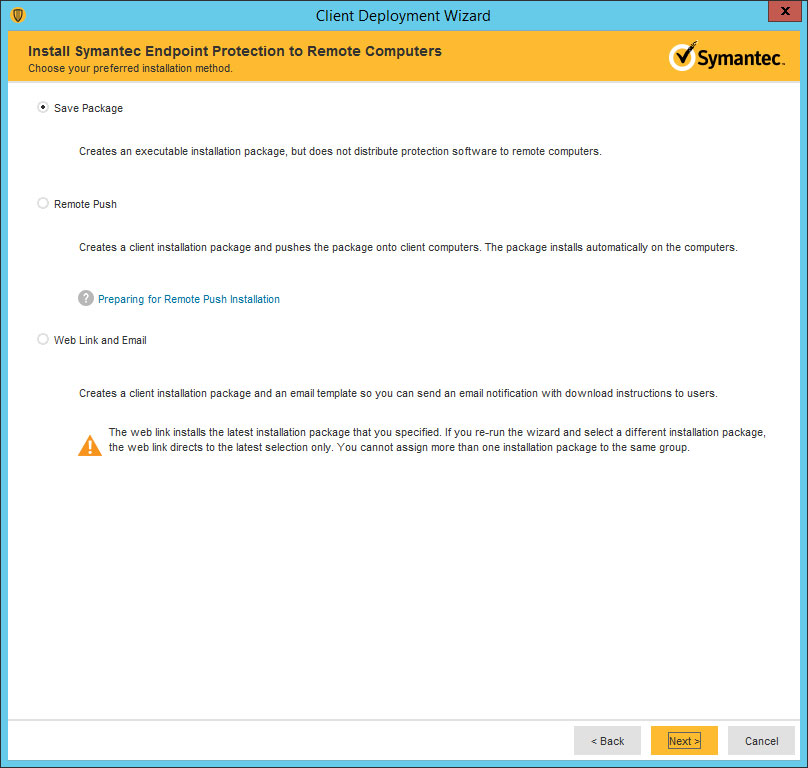 4.4 เลือก Save Package เลือก Next
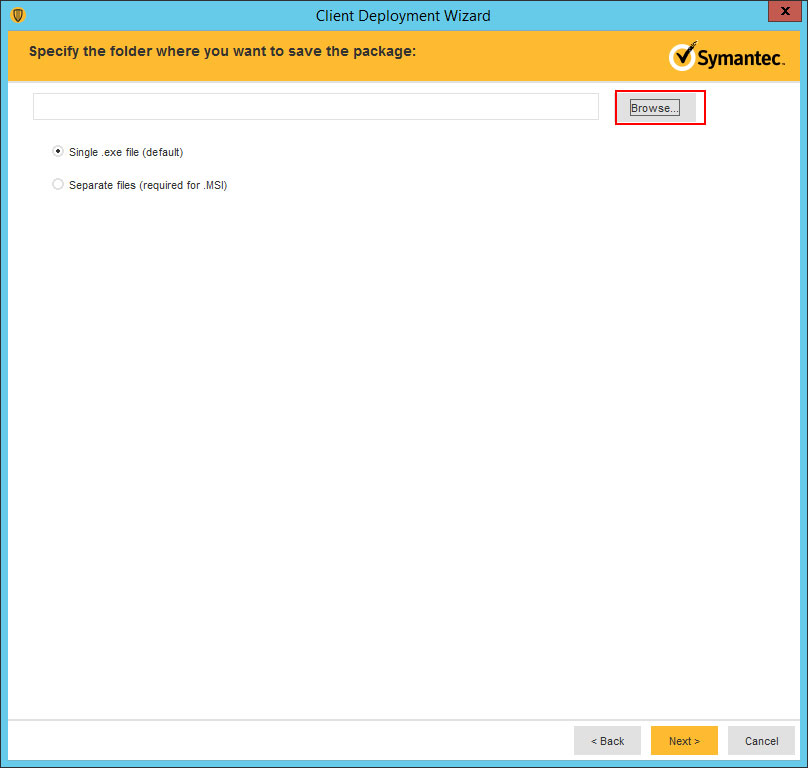 4.5 เลือก single.exe file และเลือก Browse เพื่อระบุตำแหน่ง File ที่จะเก็บ เลือก Next
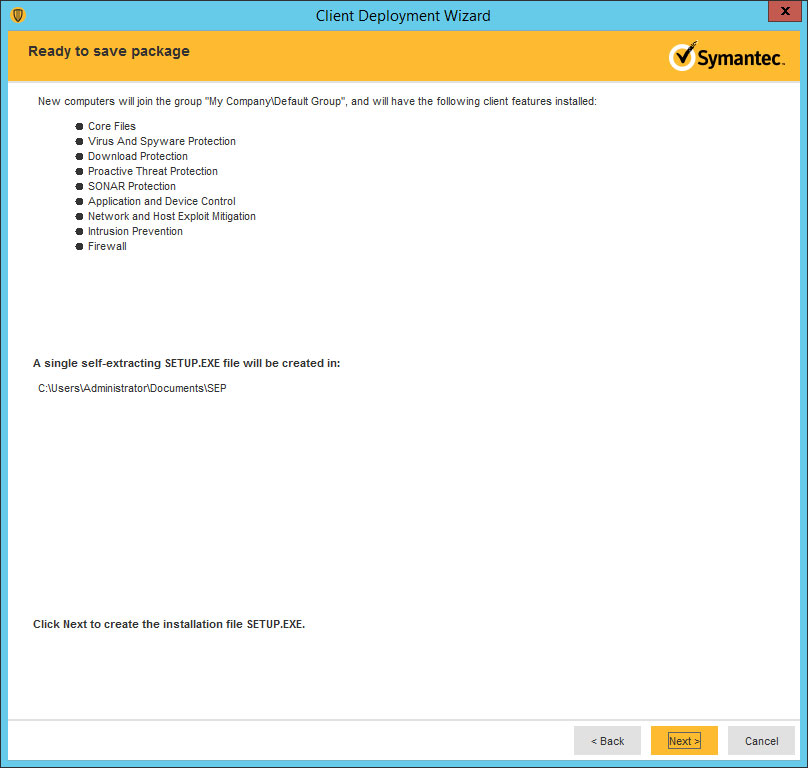 4.6 แสดงรายละเอียดการสร้าง File เลือก Next
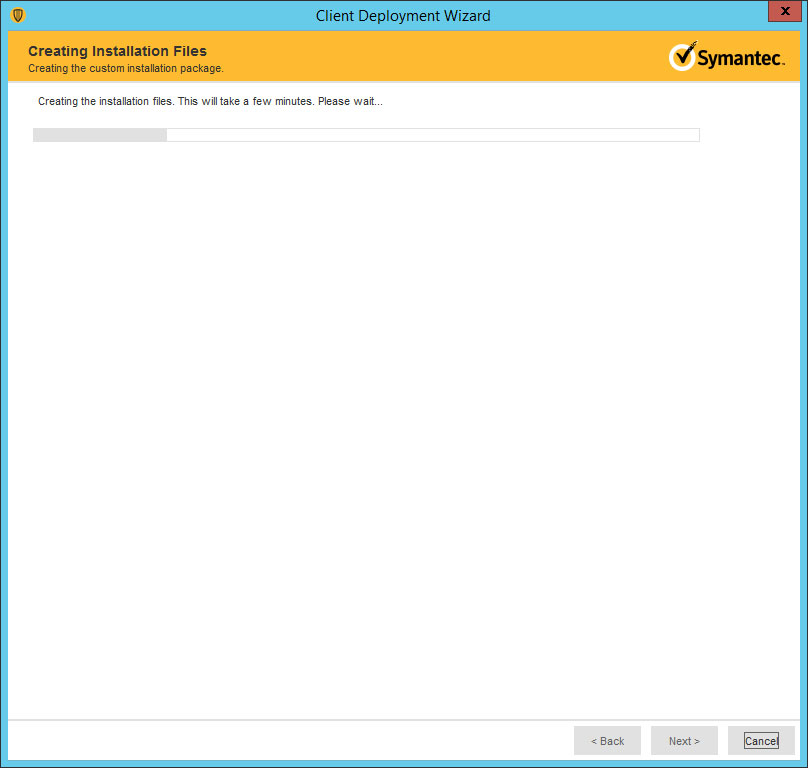 4.7 แสดงการสร้างไฟล์ เลือก Next
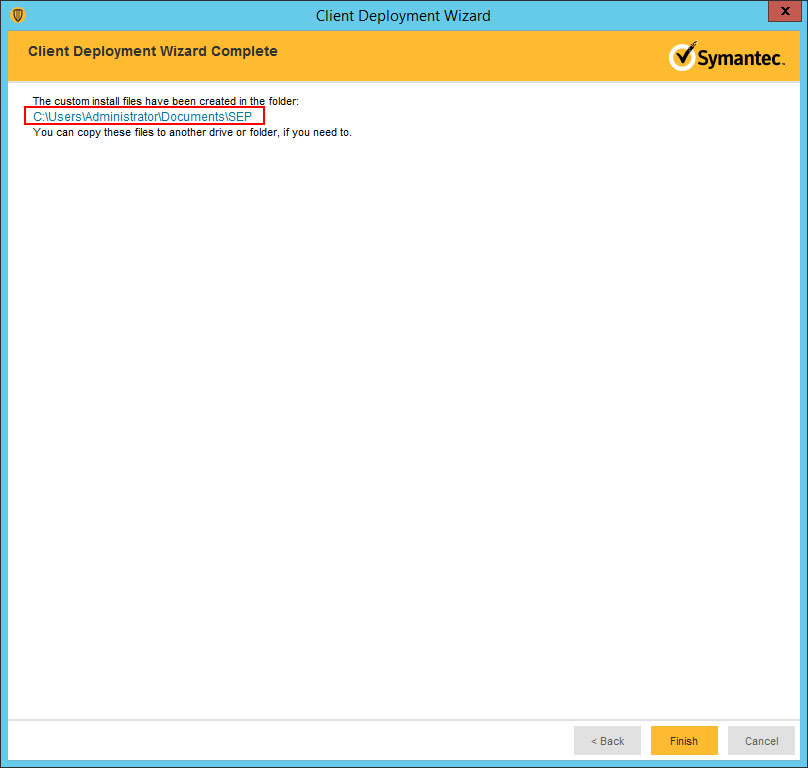 4.8 กรอบสีแดงแสดงตำแหน่งไฟล์ที่ Save ไว้ เลือก Finish
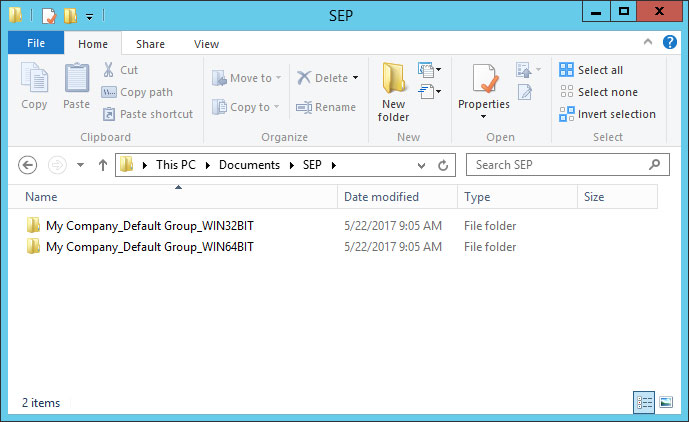 4.9 Browse Folder ที่ Save File ไว้ จะมี 2 Folder ย่อย สำหรับติดตั้ง 64bit และ 32bit
ในกรณีนี้เราใช้ Windows Server 2012 R2 เราต้องเลือกการติดตั้งจาก Folder 64bit
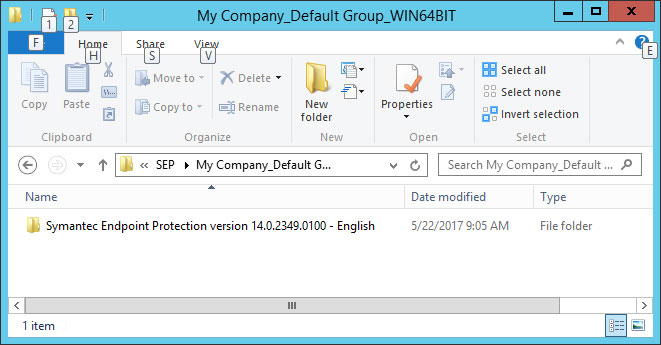 4.10 Folder ย่อยจะแจ้ง Version ของ Symantec Endpoint Protection ตามชื่อ Folder
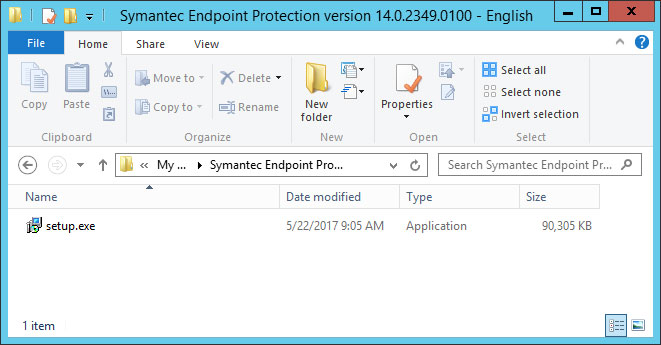 4.11 File Setup ของ Symantec Endpoint Protection
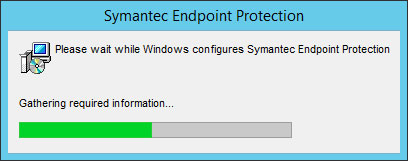 4.12 กำลังดำเนินการติดตั้ง
 4.13 กำลังติดตั้งพร้อม Update เสร็จขั้นตอนให้เลือก Close , Restart เครื่อง 1 ครั้ง
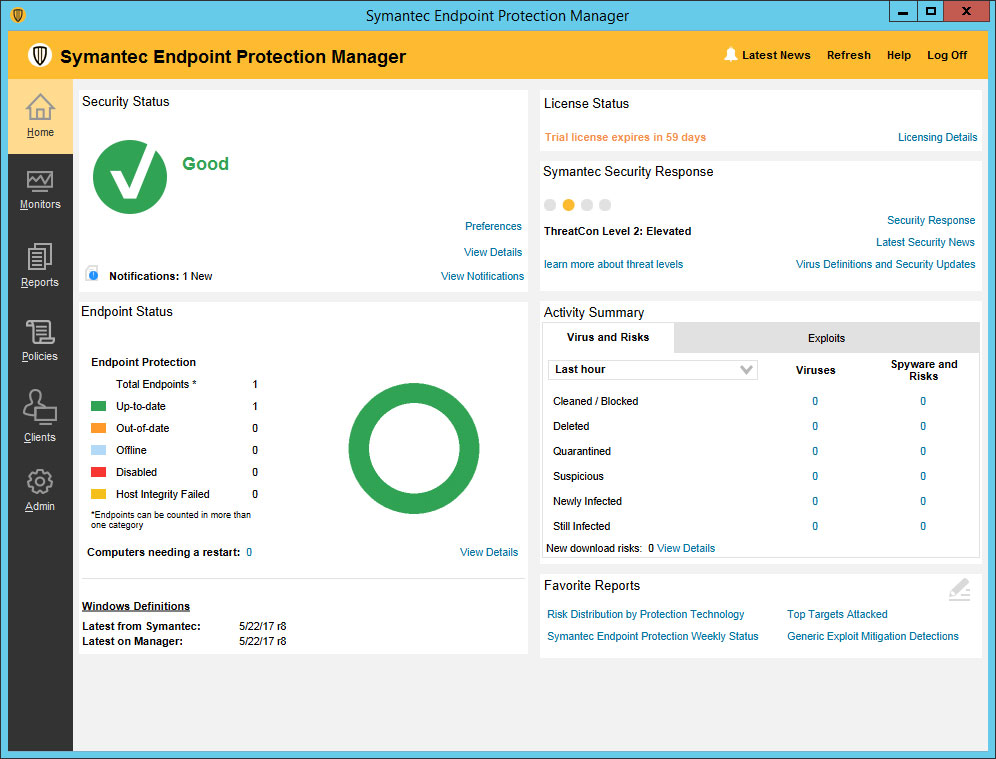 4.14 Symantec Endpoint Protection Manager แสดงสถานะ
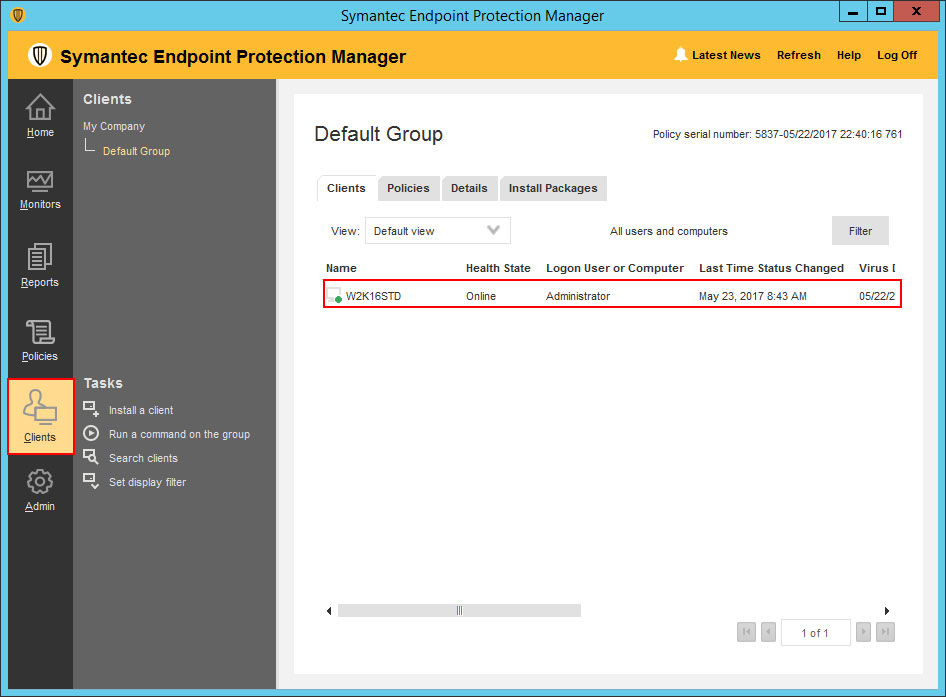 4.15 เลือก Clients เพื่อแสดงสถานะของเครื่องที่ติดตั้ง
ในกรณีที่ท่านมี License มากกว่า 1 License ที่สามารถติดตั้งได้กับเครื่องลูกข่ายด้วย ให้ทำการติดตั้ง ตามหัวข้อ 4 แต่เปลี่ยนการติดตั้ง Package (ข้อ 4.3) ให้เลือกสร้าง Package สำหรับติดตั้ง เป็น Full Protect for Clients และนำ Package ที่สร้างได้ไปติดตั้งตามเครื่องลูกข่ายที่ต้องการ และทำการ Restart เครื่อง 1 ครั้ง สถานะของเครื่อง Client จะแสดงใน Dashboard ของ Symantec Endpoint Protection Manager (รูป 4.15)
– End of Document